
Fish & Aquariums
The first shrimp tank I ever set up was a 5-gallon I bought secondhand off a local classifieds group for eight dollars, glass lid included. I remember standing in the aquarium aisle afterward, staring at a $60 canister filter and a $40 “premium” substrate bag, doing math in my head and feeling like the hobby was going to be way out of reach. It wasn’t. I ended up cycling that tank, stocking it with a dozen red cherry shrimp, and watching it turn into a self-sustaining colony for under $90 total, most of which went to the shrimp themselves. Since then I’ve rebuilt “cheap” shrimp tanks a half-dozen times for friends and always land in roughly the same place, so here’s exactly how the money breaks down.
Quick answer
A safe, functional Neocaridina shrimp tank can realistically be built for $70-$100 if you buy a used tank (or reuse one you already own), run a sponge filter with an air pump instead of a powered filter, skip the heater if your home stays in the mid-to-upper 60s°F or warmer, use plain inert gravel or sand instead of specialty substrate, and buy a starter colony of 10-15 Neocaridina rather than expensive high-grade shrimp; the only things worth spending real money on are a good dechlorinator/water conditioner, patience during the nitrogen cycle, and avoiding anything containing copper, since even trace copper is lethal to shrimp in a way it isn’t to most fish.
Why Neocaridina shrimp are the easiest species to keep on a tight budget
If you’re going to keep any aquarium animal cheaply and responsibly, Neocaridina davidi (the group that includes red cherry, yellow, and blue dream shrimp) is about as forgiving as it gets. As Practical Fishkeeping’s Neocaridina FAQ notes, these shrimp tolerate a fairly wide range of temperature and water hardness, breed readily in a stable tank with no special intervention, and don’t need supplemental heat in most centrally heated homes, which immediately removes one of the more expensive line items from a beginner tank. They’re also small and low-bioload, so they don’t need the filtration horsepower a fish tank of the same size would, which is exactly why the cheapest filtration option on the market, a simple sponge filter, happens to also be the best option for shrimp specifically, not just the budget-friendliest one. That overlap between “cheap” and “correct” is what makes a genuinely low-cost shrimp tank realistic instead of a compromise.
If you want the full walkthrough of tank sizing, cycling timelines, and long-term maintenance beyond the budget angle, our complete shrimp tank setup guide covers that in depth, this article is specifically about doing that same setup as cheaply as you safely can, not a replacement for it.
The itemized $100 budget breakdown
Prices vary a lot by region, whether you buy new or used, and whether a big pet retailer happens to be running one of its frequent five-gallon-tank clearance deals, so treat the numbers below as realistic ranges rather than exact quotes. This is the breakdown I actually used as a template, scaled for a 5- to 10-gallon tank, which is the sweet spot most budget guides (including our own 10-gallon tank setup guide) point beginners toward because it’s forgiving without being expensive to fill.
| Item | Budget approach | Estimated cost |
|---|---|---|
| Tank (5-10 gallon) | Used from classifieds/yard sale, or a small new starter kit on clearance | $0-$20 |
| Filtration | Sponge filter + basic air pump + airline tubing (DIY or entry-level branded) | $8-$18 |
| Heater | Skip if room stays 68°F+; otherwise a basic adjustable heater | $0-$15 |
| Substrate | Plain inert gravel or sand (not active/buffering substrate) | $8-$15 |
| Starter plant | A single portion of Java moss or another cheap, hardy plant | $5-$10 |
| Water conditioner/dechlorinator | A basic bottle of Seachem Prime or an equivalent conditioner | $8-$12 |
| Test kit (liquid, not strips) | Shared cost if you already test water for other tanks; otherwise one-time | $0-$25 |
| Starter shrimp colony (10-15 Neocaridina) | Standard-grade cherry/yellow/blue dream from a local hobbyist or shop | $20-$35 |
| Misc (net, thermometer, bucket) | Often already owned, or bought used | $0-$10 |
Add that up and you land somewhere between roughly $50 on the lucky, everything-secondhand end and $130-$150 if you buy every item new at full retail with a proper liquid test kit included. The “under $100” framing in this guide assumes you’re scoring at least one or two of the big-ticket items (tank, test kit) used or already owned, which is realistic in most areas; used aquarium gear is one of the most commonly given-away categories on local marketplaces because people upgrade tanks far more often than they replace shrimp supplies.
Where you can safely cut costs

- Buy the tank used. A scratched or slightly dated 5-10 gallon tank holds water exactly as well as a brand-new one. Rinse it, check the seams for old silicone cracking, and skip anything with visible leaks or a cloudy bow in the glass.
- Run a DIY sponge filter instead of a powered filter. A sponge filter is genuinely the preferred filter type for shrimp tanks, not just the cheap one, because it has no intake that can pull in baby shrimp and it hosts huge amounts of beneficial bacteria on its surface. Guides like the one on Instructables’ DIY PVC sponge filter build show you can assemble one from a length of PVC pipe, a pond-filter foam block, and airline tubing for a few dollars, paired with a basic air pump.
- Skip the heater if your home runs warm enough. Neocaridina shrimp are comfortable across a wider temperature band than most tropical fish; if your room consistently sits in the high 60s to low 80s°F, you can hold off on a heater and put that $10-$15 toward shrimp or a test kit instead.
- Use plain gravel or sand instead of “active” substrate. Buffering or nutrient-rich substrates are built for planted tanks with demanding root-feeding plants, not for a basic shrimp setup with a floating or low-light plant like Java moss. Inert gravel is cheaper and won’t swing your pH unpredictably.
- Skip unnecessary gadgets. Auto-feeders, CO2 systems, controllable smart plugs, and specialty shrimp-only foods are all things you can add later once the tank is established. None of them affect whether the tank is safe or successful in month one.
- Start with a smaller colony. Ten to fifteen shrimp is plenty to establish a self-sustaining colony in a small tank; you don’t need to buy thirty shrimp on day one when a healthy dozen will multiply on their own within a few months.
Where you should never cut corners
- Water conditioner is non-negotiable. Tap water chlorine or chloramine will kill shrimp quickly, and shrimp are noticeably more sensitive to it than most fish. A bottle of a reliable conditioner such as Seachem Prime lasts a long time relative to its cost, so this is one of the worst places to try to save a few dollars.
- Never rush the nitrogen cycle. Establishing beneficial bacteria takes weeks, not days, and adding shrimp to an uncycled tank is one of the single most common ways beginners lose an entire colony in the first week. Fishless cycling guides consistently stress patience over speed for exactly this reason; there’s no shortcut equipment purchase that replaces waiting for the biology to catch up.
- Avoid anything containing copper. This is the corner most new keepers don’t even know exists. As Aquarium Co-Op’s overview of freshwater dwarf shrimp and multiple shrimp-keeping communities point out, copper is toxic to invertebrates like shrimp and snails at concentrations that are harmless to fish, so it’s worth double-checking that your fertilizers, algaecides, and any medications are explicitly labeled invertebrate-safe before they go anywhere near the tank.
- Don’t buy a used heater or pump with a cracked cord or housing. Used tanks and decor are almost always fine; used electrical equipment with visible wear is the one category where the small savings aren’t worth the risk.
- Don’t skip a liquid test kit entirely if you can help it. Test strips are cheaper but notoriously imprecise for ammonia and nitrite, the two readings that matter most during cycling. If your budget is truly maxed out, borrowing a friend’s kit or asking a local fish store to test a water sample for free is a better move than guessing.
Setting up and cycling without spending more
Once the physical setup is assembled, tank rinsed, substrate in, sponge filter and air pump running, water dechlorinated the rest of the budget-friendly approach is really about patience rather than purchases. Run the filter for several weeks using a fishless cycling method, dosing a small, pure ammonia source and watching for ammonia to convert to nitrite and then to nitrate before any shrimp go in. This costs essentially nothing beyond the ammonia itself (often under $10 for a bottle that lasts multiple tank cycles) and is the single highest-leverage thing you can do to protect the money you’ve already spent, since a crashed cycle after shrimp arrive means replacing the livestock, not just topping off supplies.
While the tank cycles, this is also the cheapest possible time to add your Java moss or another low-light, low-CO2 plant. A small portion of Java moss tied to a rock or piece of driftwood you already have costs very little, needs no substrate fertilizer or supplemental lighting beyond a basic bulb, and gives baby shrimp somewhere to hide once the colony starts breeding. If you want more options that stay cheap and shrimp-safe, our guide to the best plants for shrimp tanks has several other budget-friendly picks beyond moss. Once ammonia and nitrite both read zero on consecutive tests with nitrate present, the tank is ready, and that’s the point to introduce shrimp gradually with a slow drip acclimation rather than all at once.
Sizing your filter correctly matters more than buying an expensive one
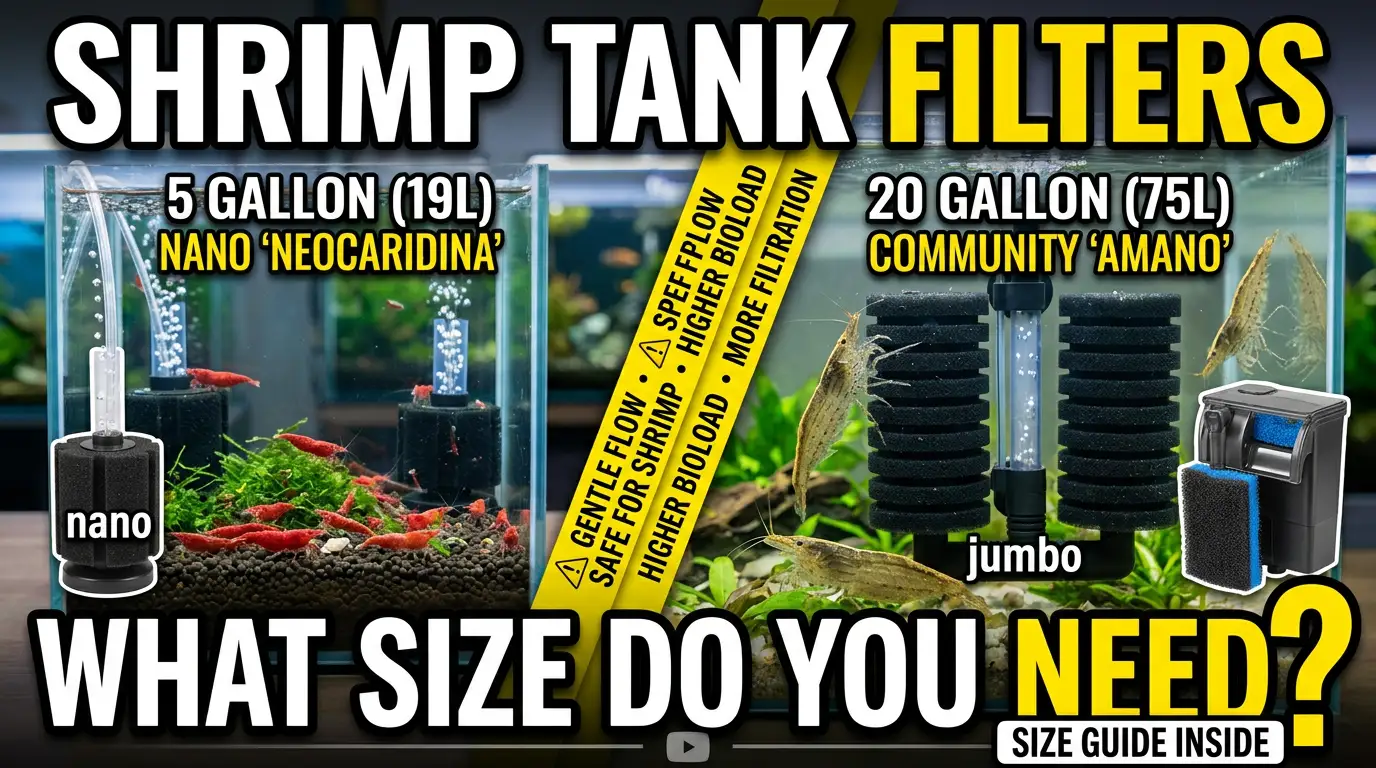
A common assumption is that a pricier filter automatically does a better job, but for a shrimp tank the more important variable is matching filter output to tank volume rather than spending more money. An undersized sponge filter on a five-gallon tank barely needs any power at all, while oversizing an air pump just wastes electricity and can create more flow than tiny shrimp are comfortable swimming against. Our dedicated filter sizing guide walks through matching pump and sponge size to gallon count if you want to get it right the first time instead of buying twice. For most 5-10 gallon budget builds, the smallest sponge filter a given brand sells, paired with the cheapest adjustable air pump that can drive it, is genuinely sufficient, there’s no benefit to buying filtration rated for double your tank size.
Realistic total cost expectations
Set your expectations by scenario rather than a single number. If you already own a spare small tank, know someone rehoming aquarium gear, or can find a secondhand five-gallon setup locally, you can realistically land in the $45-$70 range for everything including the shrimp themselves. If you’re starting from zero and buying most items new but shopping sales and skipping the heater, $80-$100 is a fair, achievable target, which is where the “under $100” framing of this guide comes from. If you buy every single component new at full price, including a proper liquid test kit and a name-brand heater you may not even need, $120-$160 is more realistic, and that’s still meaningfully cheaper than most freshwater fish setups because shrimp don’t need the filtration, heating capacity, or tank size that most fish species require. Whatever scenario you land in, remember that ongoing costs are genuinely minimal after setup, food, the occasional water conditioner refill, and replacement air-pump parts every year or two, which is part of why shrimp keeping has a reputation as one of the most budget-sustainable corners of the aquarium hobby once the initial setup is behind you.
Frequently asked questions
Can I really set up a shrimp tank for under $100?
Yes, as long as you buy at least the tank or another major item used, choose a sponge filter over a powered filter, use plain inert substrate, and start with a modest colony of 10-15 Neocaridina shrimp rather than a large or high-grade group. Buying everything new at full retail price will usually push the total closer to $120-$160 instead.
What’s the cheapest safe way to filter a shrimp tank?
A sponge filter run by a basic air pump is both the cheapest and the most shrimp-appropriate filtration option, since it has no intake that can injure or trap baby shrimp and it provides plenty of surface area for beneficial bacteria. It can be bought as an inexpensive kit or built at home from PVC pipe, filter foam, and airline tubing for just a few dollars.
Do I need a heater for Neocaridina shrimp?
Not necessarily. Neocaridina davidi, the group that includes cherry, yellow, and blue dream shrimp, tolerates a wider temperature range than most tropical fish and does fine without supplemental heat in a room that stays roughly in the high 60s to low 80s°F. If your home runs consistently cooler than that, a basic adjustable heater is worth the $10-$15.
Is used aquarium equipment safe for a shrimp tank?
Used tanks, decor, filters, and substrate containers are generally fine once rinsed and checked for damage, and buying them secondhand is one of the biggest legitimate ways to cut a shrimp tank budget. The one exception is used electrical equipment, like heaters or air pumps, with a visibly worn cord or cracked housing — that’s a case where the small savings aren’t worth the risk.
What’s the biggest budget mistake beginners make with shrimp tanks?
Rushing or skipping the nitrogen cycle to save time is the most expensive mistake in practice, because it usually results in losing the entire starter colony within days of adding shrimp to an unprepared tank. Buying the shrimp again after a cycle crash costs far more, in money and time, than simply waiting the several weeks a proper cycle takes.
How many shrimp should I start with on a budget?
Ten to fifteen Neocaridina shrimp is a practical, budget-friendly starting colony size for a 5-10 gallon tank. That’s enough genetic diversity and population for the colony to establish and begin breeding on its own within a few months, without spending more upfront than necessary.
Can I use test strips instead of a liquid test kit to save money?
Test strips are cheaper but noticeably less precise for ammonia and nitrite, which are the two readings that matter most while cycling a new tank. If a liquid test kit isn’t in the budget yet, ask a local fish store to test a water sample for free rather than relying solely on strips for critical cycling decisions.
References
- Practical Fishkeeping – Frequently Asked Questions on Neocaridina Shrimps
- Instructables – DIY Simple PVC Sponge Filter for Aquariums
- Aquarium Co-Op – Freshwater Dwarf Shrimp Overview
Once your budget tank is cycled and stocked, the day-to-day care is mostly the same as any other Neocaridina setup, for the deeper dive on long-term maintenance, tank sizing beyond the budget angle, and stocking decisions, see our full shrimp tank setup guide, our 10-gallon tank guide, and our best plants for shrimp tanks roundup. If you’re starting completely from zero, our guide to starting a shrimp tank with no experience walks through the full timeline, and our best substrate for shrimp tanks guide covers picking the right base layer for this same budget build.



Leave a Reply