
Fish & Aquariums
The first shrimp tank I ever set up went sideways in under a week, and it wasn’t because I picked bad shrimp. I’d bought the tank, the shrimp, and a bag of gravel in the same afternoon and had colorful cherry shrimp swimming by nightfall. Within four days half of them were dead, and it took me embarrassingly long to figure out I’d skipped almost every step that actually matters. This guide is the build sequence I wish someone had handed me that day, laid out as an actual checklist rather than a wall of theory.
Quick answer
A perfect shrimp habitat is built in order, not all at once: choose a tank of at least 10 gallons, add an inert or buffering substrate matched to your shrimp species, fully cycle the tank before anything lives in it, furnish it with hardscape and moss for molting cover, run a gentle shrimp-safe filter, test and stabilize water parameters, let biofilm mature for a few more weeks past cycling, drip-acclimate shrimp slowly, feed lightly on a fixed schedule, and then watch for saddled and berried females as proof the colony has actually settled in.
| Step | What you’re doing | Roughly how long it takes |
|---|---|---|
| 1. Tank size | Pick the tank and location | 1 day |
| 2. Substrate | Choose and rinse/lay substrate | 1 day |
| 3. Cycling | Run the nitrogen cycle to completion | 3-6 weeks |
| 4. Hardscape & moss | Add wood, rock, live plants, moss | 1 day (grows in over weeks) |
| 5. Filtration | Install a shrimp-safe sponge or covered filter | 1 day |
| 6. Water parameters | Test and dial in pH, GH, KH, temperature | Ongoing, checked weekly |
| 7. Maturation | Let biofilm and microfauna build up | 2-4 more weeks |
| 8. Acclimation | Drip-acclimate and add shrimp | 1-2 hours per batch |
| 9. Routine | Feed sparingly, do small weekly water changes | Ongoing, weekly |
| 10. Breeding watch | Look for saddled and berried females | Starts around week 8-12 |
Step 1: Choose the Right Tank Size
Bigger water volume means slower, gentler swings in temperature and chemistry, which is exactly what shrimp can’t tolerate losing. A 10 to 20-gallon tank gives you a real buffer against the small mistakes every new keeper makes, while anything under 5 gallons punishes even minor overfeeding or a missed water change within hours instead of days. Practical Fishkeeping’s introduction to shrimp keeping makes the same point to newcomers: start with more water than you think you need, because stability is the entire game with these animals. If you’ve genuinely never kept shrimp before, it’s worth reading through a dedicated beginner walkthrough on starting with no experience before you buy anything, since tank size is the one early decision that’s expensive to undo later.
Step 2: Pick a Substrate That Matches Your Shrimp
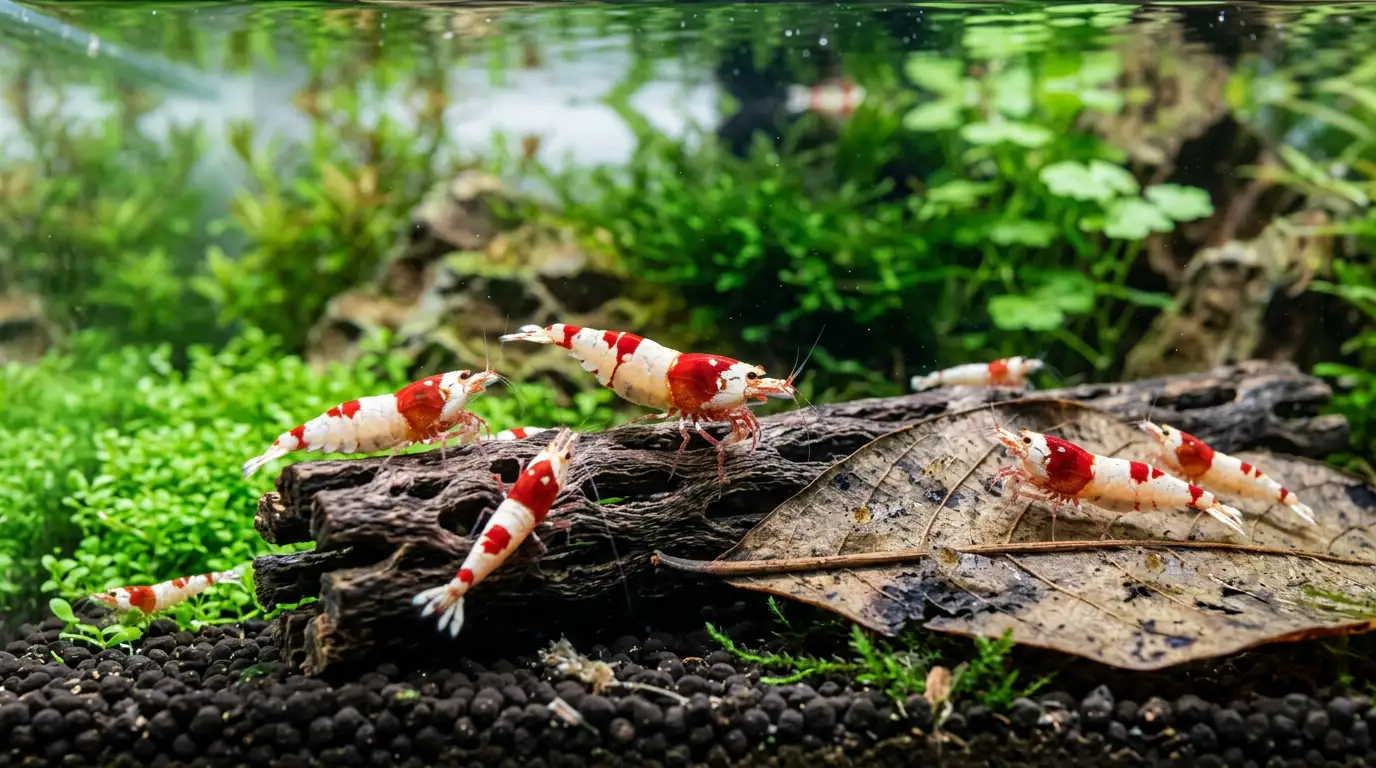
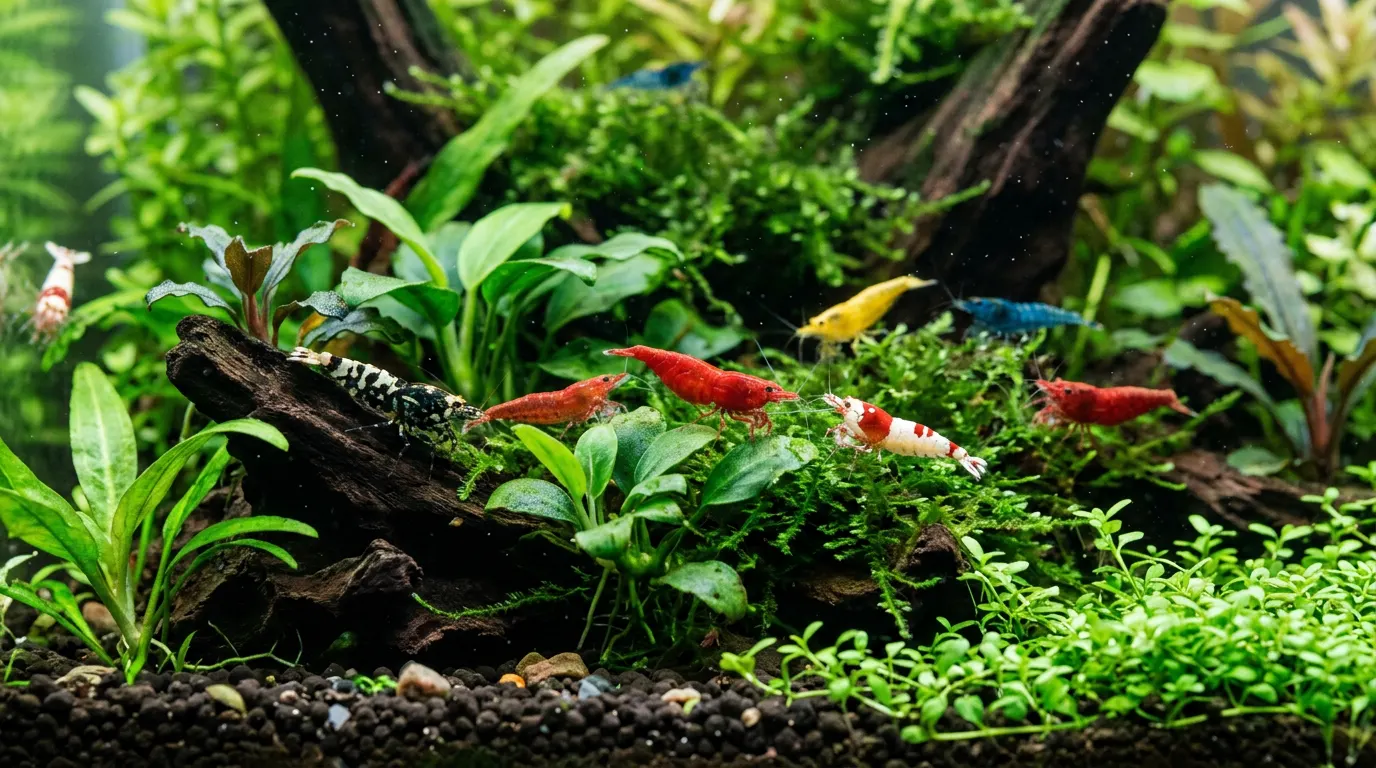
Substrate isn’t just décor here; it actively shapes your water chemistry and either helps or fights against the shrimp you want to keep. Neocaridina species like cherry, yellow, and blue dream shrimp do fine over inert sand or gravel that won’t shift your pH away from the neutral-to-slightly-alkaline range they tolerate well. Caridina species such as Crystal Red or Taiwan Bee shrimp generally need a buffering active substrate (an aquasoil) that pulls pH and GH down into the softer, more acidic water they evolved for. Getting this backwards is one of the most common reasons a new colony fails to thrive even though every other step was done right, so it’s worth working through a full substrate comparison before you commit to a bag.
Step 3: Cycle the Tank Before Anything Else Goes In
This is the step my first tank skipped entirely, and it’s the one that actually determines whether your shrimp live. Cycling means growing a colony of beneficial bacteria that convert toxic ammonia into nitrite and then into far less harmful nitrate, and Aquarium Co-Op’s beginner’s guide to the nitrogen cycle is blunt about why this matters: adding livestock before that bacterial colony exists is the textbook cause of “new tank syndrome,” where ammonia and nitrite spikes kill animals in a tank that looks perfectly clear. Dose the tank with pure ammonia or a hardy fish-food source, test daily with a liquid kit, and don’t consider the tank cycled until ammonia and nitrite both read zero and nitrate is present. For most tanks this takes three to six weeks, and shrimp are notably less tolerant of ammonia and nitrite than most fish, so there’s no shortcut worth taking here.
Step 4: Add Hardscape and Plants, Especially Moss
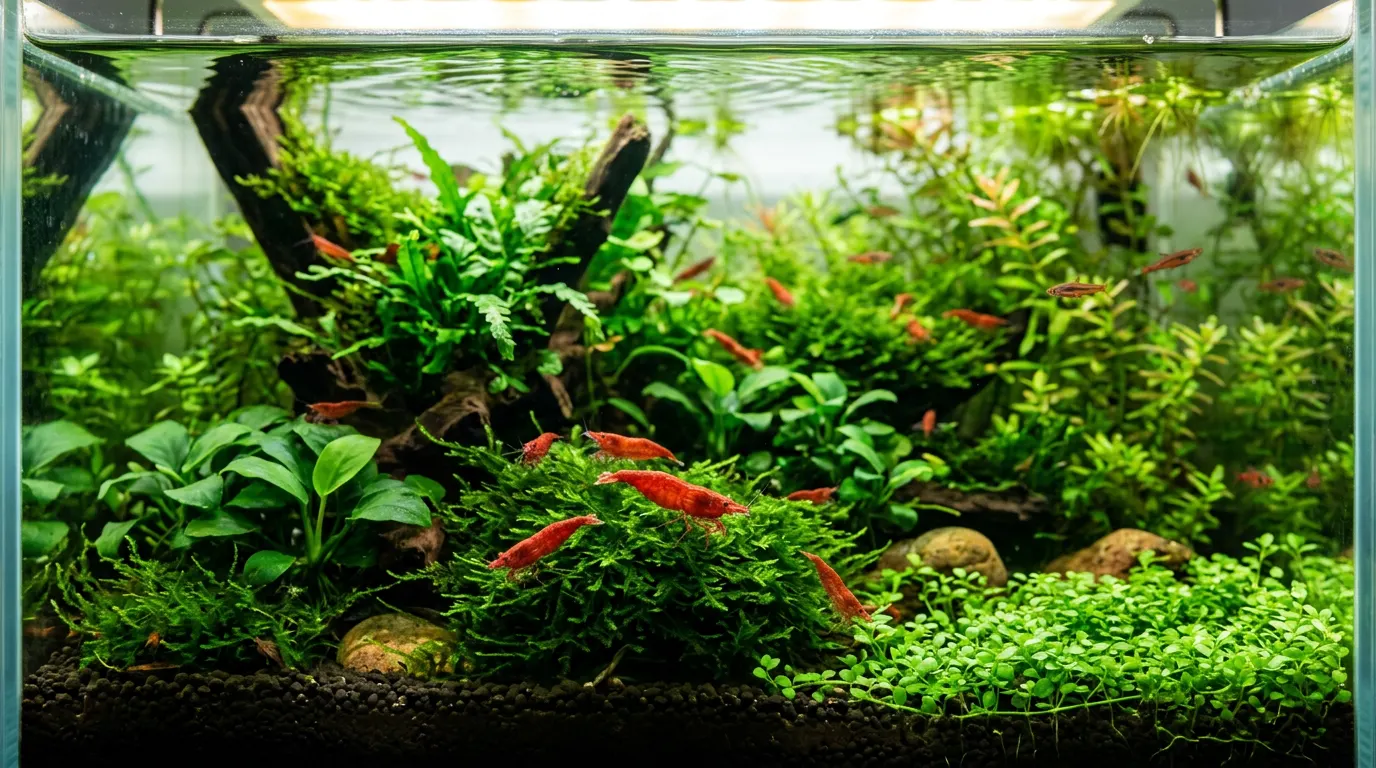
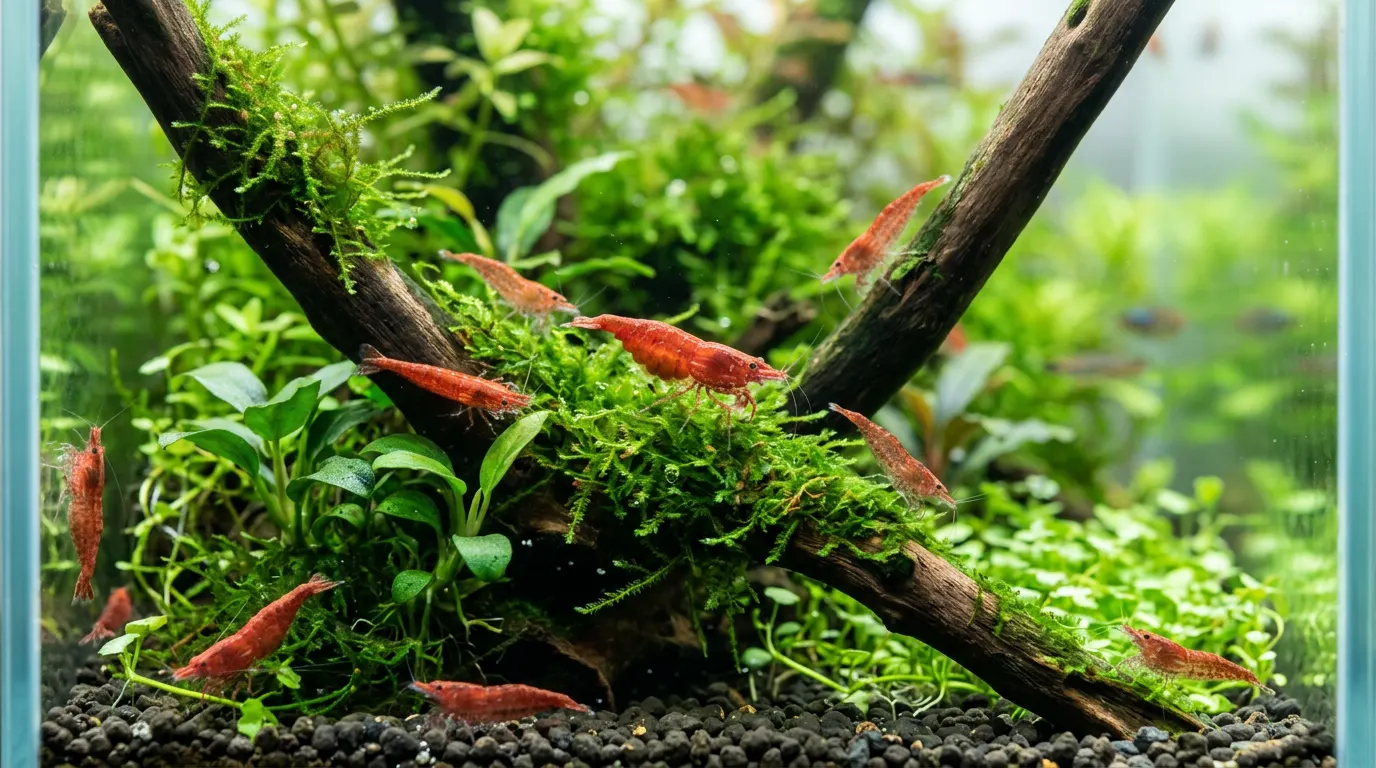
Once the cycle is running, furnish the tank with driftwood and inert rock (skip anything containing limestone, which can push your KH and pH upward unpredictably) and start adding live plants. Plants aren’t optional extras in a shrimp tank; they grow biofilm on every leaf surface, which is a primary food source, and they give shrimp something to graze and hide on around the clock. Moss deserves special attention on its own: java moss and Christmas moss create the dense, tangled cover shrimp instinctively retreat into right after molting, when their new shell is still soft and they’re at their most vulnerable to being eaten or bullied by tankmates. Aquarium Co-Op’s care guide for java moss notes how forgiving and fast-growing it is, which is exactly why it’s become the default molting refuge in nearly every serious shrimp setup. If you’re planning the planting list from scratch, it’s worth reading a rundown of the best plants for a shrimp tank before you buy, since not every popular aquarium plant pulls its weight for shrimp specifically.
Step 5: Install a Shrimp-Safe Filter
Standard filter intakes are sized for fish, and an uncovered intake will pull in shrimplets and even adult shrimp without much resistance. An air-driven sponge filter is the go-to choice among experienced shrimp keepers because it provides gentle biological filtration with no intake risk at all, and if you’d rather run a hang-on-back or canister filter, cover the intake with a pre-filter sponge before you ever add livestock. Keep flow gentle regardless of filter type; shrimp are weak swimmers compared to most aquarium fish and will spend all their energy fighting a strong current instead of feeding and molting normally.
Step 6: Test and Stabilize Water Parameters
With the tank cycled and furnished, spend a week or two just testing before you add a single shrimp. Neocaridina shrimp are fairly forgiving, generally doing well at a pH of 6.5 to 8, GH of 6 to 8, KH of 1 to 4, and a temperature of 65 to 78°F, while Caridina species want softer, more acidic water and much tighter consistency. Whatever you keep, treat copper as an absolute red line: freshwater invertebrate FAQs from Practical Fishkeeping repeatedly flag copper-based medications and even some tap water as lethal to shrimp in concentrations that barely register with fish, so check your source water and never dose copper-containing treatments in a tank that houses shrimp. Consistency matters more than hitting a perfect number, so aim to keep every parameter flat week to week rather than chasing an ideal figure.
Step 7: Let the Tank Mature Past Cycling
A tank that has just finished cycling is biologically active but still nutritionally empty for shrimp. Give it another two to four weeks to grow a real film of biofilm and microfauna across hardscape, glass, and plant leaves; this layer becomes the bulk of what your shrimp actually eat day to day, far more than anything you drop in with a feeding scoop. This is the step most new keepers rush past because the tank finally looks ready, and it’s a major reason colonies that survive the first month still fail to establish in the second.
Step 8: Acclimate and Add Shrimp Slowly
Shrimp are far less tolerant of sudden parameter shifts than most fish, so this is not the step to rush. Practical Fishkeeping’s guide to acclimatising new fish and shrimp recommends a slow drip acclimation over an hour or more rather than the “plop and drop” method some fishkeepers use for hardy fish, letting the bag water gradually match your tank’s temperature, pH, and GH drop by drop. Add shrimp during dim lighting or shortly after lights-out to reduce stress, and start with a modest group of ten to fifteen rather than stocking to capacity on day one; a small founding colony that settles in well will outbreed a large one that arrives stressed.
Step 9: Establish a Feeding and Maintenance Routine
Once shrimp are in, resist the urge to feed daily. Two to three light feedings a week is plenty for most colonies, since biofilm covers the gaps, and any food not cleared within a few hours should be removed to avoid an ammonia spike in a tank with limited water volume. Pair that with a small weekly water change of roughly 10 to 20 percent using water matched to your existing parameters, and a gentle substrate vacuum around (not through) plant roots and moss. A boring, repeatable routine is the single biggest predictor of a shrimp tank that’s still thriving a year later.
Step 10: Watch for Breeding Signs
The clearest proof that your habitat is actually working comes from the shrimp themselves. Look for a “saddle,” a visible patch of yellow, green, or orange eggs sitting beneath the carapace of a mature female, which signals she’s ready to mate. After mating, she becomes “berried,” carrying fertilized eggs under her swimmerets for roughly three to four weeks until they hatch as fully formed miniature shrimp. Rising molting frequency across the tank and, eventually, tiny shrimplets darting for cover in the moss are the real finish line for this whole build sequence, and they’re worth the patience every earlier step asked for.
Frequently asked questions
How long does it take to set up a shrimp tank from scratch to first shrimp?
Plan on five to eight weeks in total. Cycling alone typically takes three to six weeks, and giving the tank an extra two to four weeks to mature biofilm afterward makes a real difference in how well new shrimp settle in.
Can I add shrimp to a brand new tank right away?
No. A brand new, uncycled tank has no beneficial bacteria to process ammonia, and shrimp are especially sensitive to ammonia and nitrite spikes. Complete the nitrogen cycle first and confirm zero ammonia and nitrite before adding any shrimp.
What is the best substrate for a shrimp habitat?
It depends on the species. Inert sand or gravel works well for hardy Neocaridina shrimp like cherry shrimp, while sensitive Caridina species such as Crystal Reds generally need a buffering active aquasoil that lowers pH and GH into softer, more acidic ranges.
Do shrimp need a filter, and does it need to be shrimp-safe?
Yes to both. Shrimp still need biological filtration to keep water quality stable, but a standard uncovered filter intake can pull in and kill shrimplets and even adults. Use an air-driven sponge filter or cover any other intake with a pre-filter sponge.
How much moss does a shrimp tank actually need?
More than most new keepers expect. A dense clump or mat of java moss or Christmas moss gives molting shrimp the cover they need while their new shell hardens, and it also grows biofilm that supplements their diet, so it’s worth letting it take up a generous portion of the tank rather than treating it as a small accent.
What water parameters are safe for Neocaridina shrimp?
Neocaridina shrimp like cherry shrimp are fairly adaptable, generally doing well at a pH of 6.5 to 8, GH of 6 to 8, KH of 1 to 4, and a temperature of 65 to 78°F. Stability across those ranges matters more than hitting one perfect number.
Is copper really dangerous to shrimp, or is that overstated?
It’s not overstated. Freshwater invertebrates including shrimp are far more sensitive to copper than fish, and copper-based medications or copper-contaminated tap water can be lethal at concentrations fish tolerate without issue, so it should be treated as an absolute red line in any shrimp tank.
How do I know if my shrimp colony is breeding successfully?
Watch for saddled females (a visible patch of eggs under the carapace) followed by berried females carrying eggs under their tails for three to four weeks. Shrimplets appearing in the moss and hardscape a few weeks later confirm the colony is reproducing on its own.
This checklist is meant to get you from an empty tank to a settled colony without the trial and error I went through, but it deliberately moves fast through ideas that deserve a slower read. For the fuller narrative version of this same process, with more context on why each stage exists, see our complete shrimp tank setup guide. If you’re brand new to the hobby, our guide to starting shrimp keeping with no experience is worth reading alongside Step 1, our best substrate breakdown pairs with Step 2, and our best plants for a shrimp tank rounds out Step 4. If you want to make that habitat look as good as it functions, our shrimp tank decor and aesthetics guide covers safe hardscape and aquascaping styles, and once the colony is established, our low-maintenance shrimp guide covers just how little upkeep it needs from here.
References
- Practical Fishkeeping: An Introduction to Shrimp
- Aquarium Co-Op: The Beginner’s Guide to the Nitrogen Cycle for Aquariums
- Aquarium Co-Op: Care Guide for Java Moss
- Practical Fishkeeping: A Guide to Acclimatising Your New Fish or Shrimp
- Practical Fishkeeping: Frequently Asked Questions on Freshwater Shrimps



Leave a Reply