Fish & Aquariums
I put off CO2 injection for over a year because it sounded like the kind of thing that could go wrong; pressurized gas near a tank full of fish felt like a leap. It’s genuinely not as intimidating as it sounds once you understand what it’s actually doing, but more importantly: for a long time, I didn’t need it. My plants were doing fine without it. CO2 solves a specific problem, and it’s worth knowing whether you actually have that problem before buying the gear.
This is the full breakdown: what CO2 actually does for plants, how to tell if your tank has hit its limit without it, the real difference between DIY and pressurized systems, how to dial it in without guessing, and the safety habits that make it a non-issue for your fish.
Quick answer
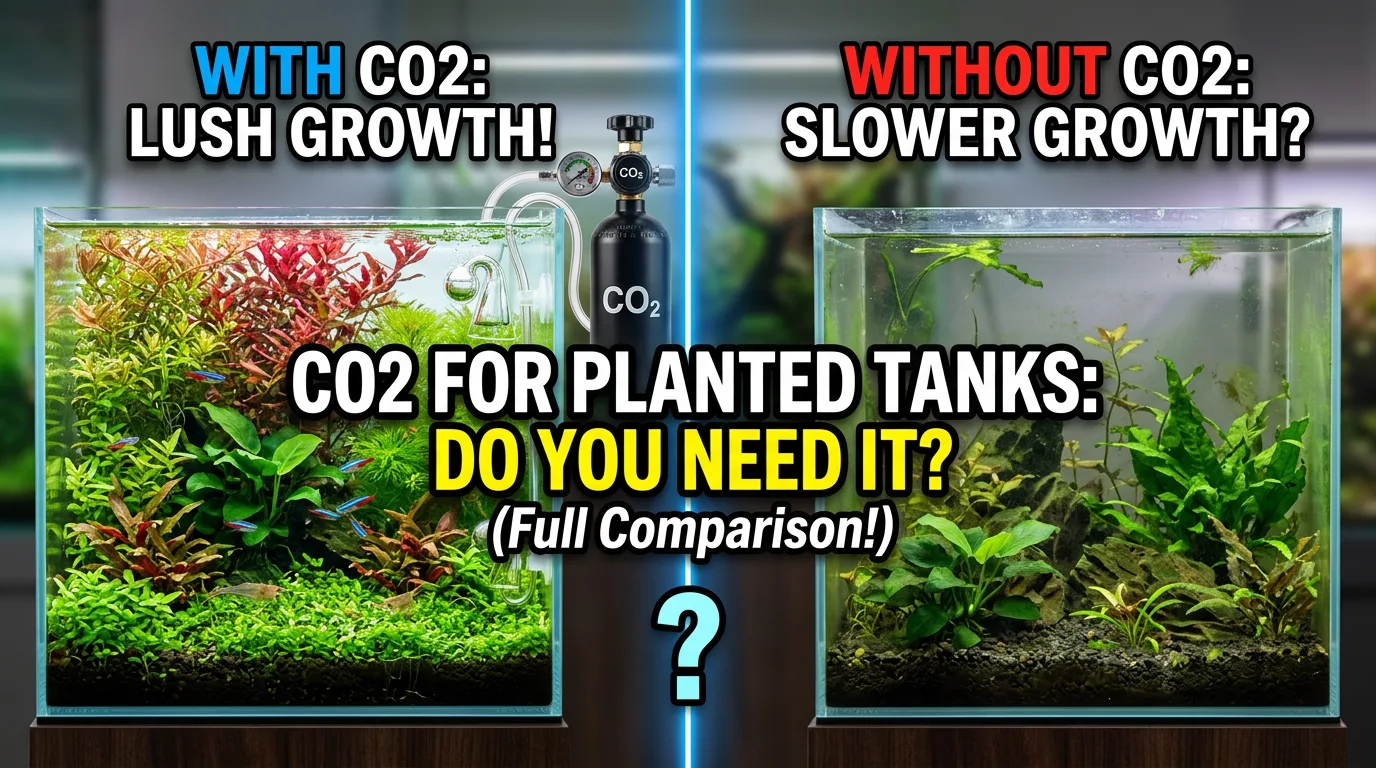
Most beginner planted tanks with easy, low-light plants (java fern, anubias, crypts, mosses) don’t need CO2 injection; fish respiration and natural gas exchange with the air supply provide enough carbon for slow-growing species. CO2 becomes worth adding once you’re running higher-intensity lighting and want faster-growing carpet or stem plants, because at that point light and fertilizer alone aren’t the bottleneck anymore; available carbon is. Adding CO2 without also having adequate light and correctly dosed nutrients won’t help; the three (light, CO2, and fertilizer) need to scale together, or you just shift which one is limiting growth.

What CO2 actually does for a planted tank
Photosynthesis needs three inputs: light energy, nutrients, and carbon. Aquatic plants pull carbon primarily from dissolved CO2 in the water (a much smaller amount also comes from bicarbonate, depending on the species). In a low-tech tank, that dissolved CO2 comes from fish and bacterial respiration and from ordinary gas exchange at the water’s surface, a real but genuinely limited supply. Easy, slow-growing plants evolved to get by on exactly that limited supply, which is why they don’t need supplemental CO2. Faster-growing, higher-light species are bred and selected to grow quickly when given more of everything, including carbon, and without an injected source they simply hit a ceiling no amount of extra light or fertilizer can push past.
This is also why adding CO2 to a tank that doesn’t need it, one running low light with easy plants, rarely does much. If light was never the limiting factor, adding more carbon doesn’t unlock extra growth; the plant simply wasn’t carbon-limited in the first place.
Signs you might actually need it
- You’re running high-output lighting (not a basic beginner LED) for a carpeting or stem-heavy aquascape.
- You’re already dosing fertilizer correctly per my fertilizer guide and plants are still growing slowly or looking pale despite good light.
- You specifically want demanding carpet plants (like monte carlo or dwarf hairgrass) that struggle to fill in densely without supplemental CO2.
- You’re chasing a denser, faster-filling aquascape rather than just healthy, slow-growing greenery.
- You’re seeing persistent green spot algae or stunted new growth on plants that are otherwise getting plenty of light and nutrients, a classic sign the tank has outgrown its available carbon.
If none of these describe your tank, you’re very likely in low-tech territory, and CO2 would just be an added cost and complexity without a real payoff. It’s worth reading my beginner planted tank setup guide first if you haven’t kept easy plants successfully yet,there’s real value in learning to read plant health and dial in a routine before adding another variable.
DIY vs pressurized CO2
| DIY (yeast/sugar reaction) | Pressurized system | |
|---|---|---|
| Cost | Very low to start | Higher upfront (regulator, cylinder, diffuser) |
| Consistency | Fluctuates as the reaction speeds up and slows down over days | Steady, controllable output |
| Best for | Small tanks, testing whether CO2 helps before committing | Larger tanks or anyone serious about a demanding aquascape |
| Maintenance | Refill the yeast/sugar mix every couple weeks | Refill the CO2 cylinder every few months depending on usage |
| Control | No real way to fine-tune output mid-cycle | Precise bubble-rate control via a needle valve, often paired with a solenoid on a timer |
Why most people who stick with CO2 eventually move to pressurized
DIY CO2 is a genuinely reasonable way to test whether CO2 actually helps your tank before spending on a full setup, but its inconsistency is also its biggest limitation: output rises as fermentation gets going, then tapers off as the yeast runs out of sugar, which means the CO2 level in the tank isn’t stable even if you don’t touch anything. For a small tank with modest demands, that swing might be tolerable. For anything larger or more demanding, the inconsistency becomes the reason people upgrade, not because DIY doesn’t work, but because a fluctuating carbon supply is harder to dial in safely and predictably than a steady one.

How much CO2 does a planted tank actually need?
Rather than chasing a specific bubble-per-second number, which varies enormously by tank size, diffuser type, and how efficiently the CO2 actually dissolves before reaching the surface, the more reliable way to dial in CO2 is a drop checker using a pH/KH indicator solution, which changes color based on dissolved CO2 in the water relative to your tank’s carbonate hardness. Green generally indicates a good working level for most planted tanks; blue means too little CO2 to make much difference; yellow means too much, and a clear signal to back off immediately. Start with a low bubble rate, let it run for a few hours, check the drop checker’s color, and adjust gradually from there rather than guessing a number upfront and hoping it’s right, a drop checker also lags behind the actual water CO2 level by roughly an hour, so give any adjustment time to show up before making another one.
Timing the CO2 to switch on an hour or two before your lights and off an hour before they end also helps, since it avoids wasting CO2 when plants aren’t yet (or no longer) actively photosynthesizing. A solenoid valve on a timer, paired with your light timer, automates this and is one of the more worthwhile small upgrades once you’re running CO2 regularly; it removes a daily manual task and one more place human error can creep in.
Diffusion method matters more than people expect
How CO2 gets into the water changes how efficiently it’s actually used. A ceramic diffuser breaks gas into a fine mist of bubbles that dissolve gradually as they rise, which is generally more efficient than a simple airstone-style bubble counter that lets larger bubbles escape at the surface mostly undissolved. An inline diffuser or reactor plumbed directly into a canister filter’s output is more efficient still, since it forces water and CO2 into close, prolonged contact before the water re-enters the tank. None of this needs to be perfect from day one; a basic ceramic diffuser is a fine starting point, but it’s worth knowing that “not enough CO2 despite a decent bubble rate” is sometimes a diffusion-efficiency problem rather than a supply problem.
Safety basics if you do add it
- Always run an airstone or increase surface agitation at night when the CO2 is off (on a timer); plants consume oxygen and produce CO2 overnight rather than the reverse, and fish need that extra oxygen exchange while photosynthesis has stopped.
- Use a drop checker to monitor CO2 levels visually rather than guessing from bubble count alone; bubble rate alone doesn’t tell you how much CO2 is actually dissolving or accumulating.
- Increase CO2 gradually over days when first starting, watching fish behavior (rapid gilling, gasping at the surface, unusual gathering near the filter outflow) as your signal to back off immediately.
- Check tubing and connections periodically for leaks; a slow leak wastes gas and can also mean your actual in-tank CO2 level is lower than your regulator settings suggest.
- If you keep sensitive invertebrates like shrimp, introduce CO2 especially gradually and keep levels on the conservative side, since shrimp are generally more sensitive to rapid water chemistry swings than fish.

Getting the light-CO2-fertilizer triangle right
Adding CO2 on its own, without also reviewing your light and fertilizer, is one of the most common ways a CO2 setup underdelivers. The three variables work together rather than independently: strong light without enough CO2 or nutrients pushes plants into visible stress and gives algae an opening (this is precisely the scenario CO2 is meant to fix); CO2 injection without matching light doesn’t unlock much extra growth, since light was never the limiting factor to begin with; and CO2 plus light without properly dosed fertilizer just shifts the bottleneck to nutrients instead. Adding CO2 is rarely a single fix — it usually means revisiting your fertilizer routine at the same time, since faster-growing plants under CO2 consume nutrients faster too. My fertilizer guide covers dosing schedules that scale with a CO2-injected, higher-light tank if you’re making this jump.
What to expect in the first few weeks
Plants don’t respond to newly added CO2 instantly. Give any change, first introducing CO2, or adjusting the bubble rate, at least one to two weeks before judging whether it worked, since visible growth response lags behind the actual chemistry change. It’s also common to see a short adjustment period where plants that were previously stable start pearling (releasing visible strings of oxygen bubbles from their leaves during the light period) once CO2 and light are properly balanced, that’s a good sign, not a problem, and one of the more satisfying visual confirmations that the setup is working.
Frequently asked questions
Will CO2 hurt my fish?
Only at excessive levels, which is why monitoring with a drop checker and adding surface agitation at night (when plants aren’t producing oxygen) matters. Introduced gradually and monitored, it’s safe for a normally stocked community tank.
Can I add CO2 to a low-light tank?
You can, but it usually doesn’t do much, without enough light driving photosynthesis, plants can’t use the extra CO2 either. It’s most useful specifically in medium-to-high light setups where light was already the plants’ limiting factor.
How do I know if I’m overdosing CO2?
Fish gasping at the surface, gathering near the filter outflow (where oxygen is higher), or unusually lethargic behavior are the main warning signs. Back off immediately and increase surface agitation if you see any of these; don’t wait to see if it improves on its own.
Do I need a CO2 controller or solenoid?
Not to start. A basic needle-valve regulator without a solenoid works fine if you’re willing to manually turn the CO2 on and off daily (or leave it running continuously at a conservative rate). A solenoid on a timer becomes worth adding mainly for convenience and consistency once you’re confident in your dialed-in bubble rate.
How long does a CO2 cylinder last?
It depends heavily on tank size, bubble rate, and how many hours a day it runs, so there’s no single answer that applies broadly, a small tank running a modest rate on a timer can go several months between refills, while a larger, heavily planted tank running longer hours will need refills more often. Tracking your refill interval for your specific setup after the first cycle is more useful than relying on someone else’s number.
Can I switch back to low-tech after running CO2?
Yes, but expect some transition stress — plants that adapted to grow quickly under CO2 (especially demanding carpet and stem species) often struggle or melt back when carbon supply suddenly drops, since they were relying on it. If you stop CO2, it’s worth also scaling back light and fertilizer at the same time, and expecting some plant loss or a period of slower, patchier growth as the tank re-balances to a lower-input state.
For most people starting out, skip this entirely and revisit it later — get comfortable with an easy low-tech planted tank first, and only add CO2 once you actually hit its limits.





Leave a Reply