Gardening & Plants
A potted bromeliad looks fine. A bromeliad mounted on a piece of driftwood, growing the way it actually would on a tree branch in the wild, looks like something else entirely, and it’s a lot more achievable than it looks: you can mount a bromeliad on wood because most bromeliads don’t need soil to survive in the first place. My first mount was a Neoregelia pup I had no plans for, tied onto a piece of grapevine with plain fishing line because that’s what was in the drawer, and it’s still going three years later looking better than most of my potted plants ever have. This is the full walkthrough on how to mount a bromeliad on wood, including a few things that went wrong on my early attempts that I’d rather you skip.
Quick answer: how to mount a bromeliad on wood
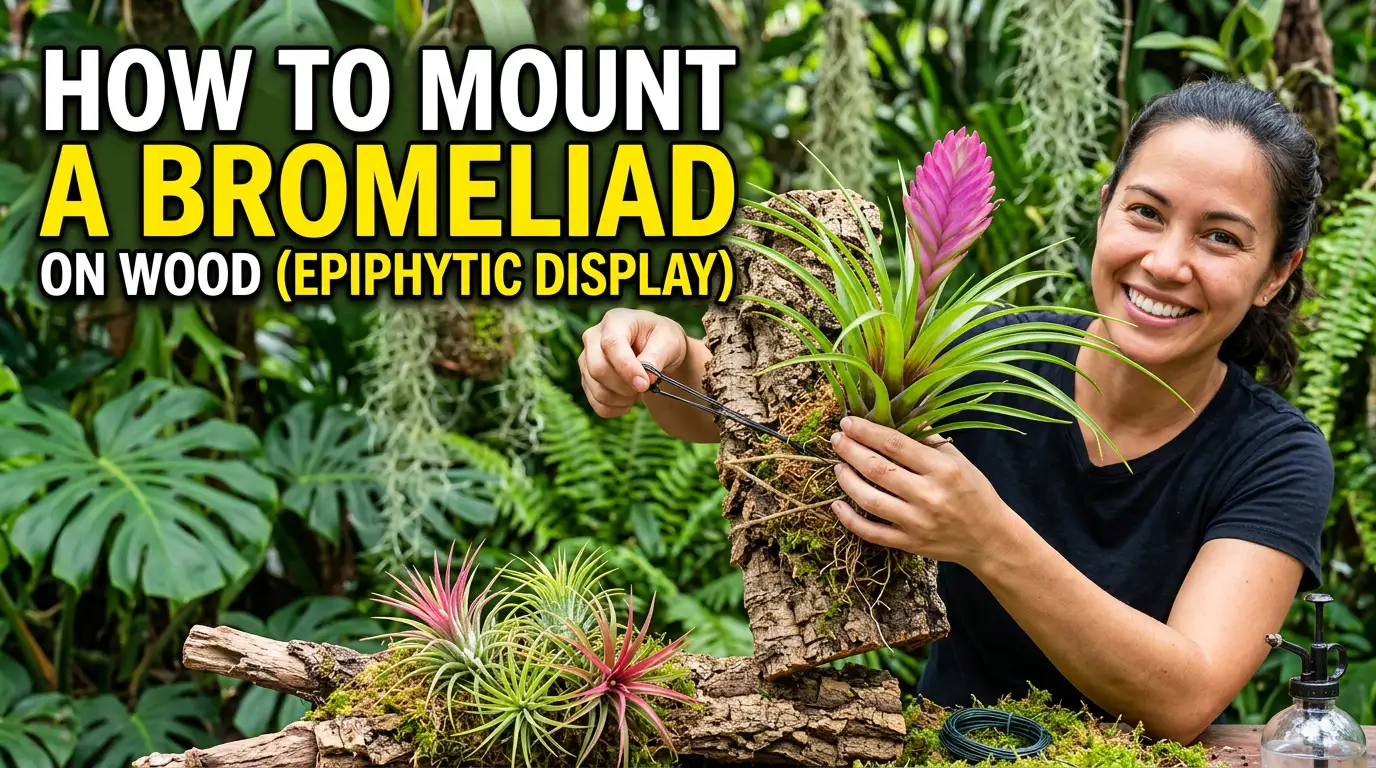
To mount a bromeliad on wood: rinse the soil off its roots, wrap a small pad of damp sphagnum moss around the root ball, position the plant against an untreated piece of driftwood or cork bark at the angle you want, and secure it with fishing line, twine, or wire wrapped snugly (not tightly) across the root area and the mount. Keep the central cup watered exactly as you would in a pot, and mist the root/moss area every few days until new roots visibly grip the wood, usually a few months. This works because most bromeliads are epiphytes, in the wild their roots exist mainly to anchor them, not to feed them, so a piece of wood does the anchoring job just as well as soil does.

Why you can mount a bromeliad on wood
Many bromeliads are epiphytes; in habitat, they grow perched on tree bark, using their roots mainly to anchor themselves rather than to draw up water and nutrients the way a typical potted plant does. Their central leaf cup does most of the actual water-catching, and specialized absorbing cells on the leaves and in the cup handle the bulk of nutrient uptake too. That’s exactly why mounting works: the roots’ real job is holding on, and a piece of wood does that just as well as soil, arguably better, since it matches what the plant evolved to grip. It also means a mounted bromeliad genuinely isn’t a compromise or a “harder mode” version of growing one; it’s arguably closer to the plant’s natural growing conditions than a pot ever is, which is part of why mounted bromeliads often develop richer color and a more compact, natural growth habit than the same plant grown in soil.
University extension horticulture backs this up directly. Clemson Cooperative Extension’s Home & Garden Information Center factsheet on bromeliads explains that epiphytic types are anchored by roots that serve mainly to hold the plant in place, drawing little if any moisture or nutrition from whatever they’re attached to, the leaf cup and specialized absorptive leaf scales handle that job instead. The same factsheet is just as direct about the failure mode mounting sidesteps entirely: root decay in a potted bromeliad “usually results from a soil mix that does not drain quickly or overly frequent watering,” a situation a piece of open-air wood or cork bark never creates in the first place.
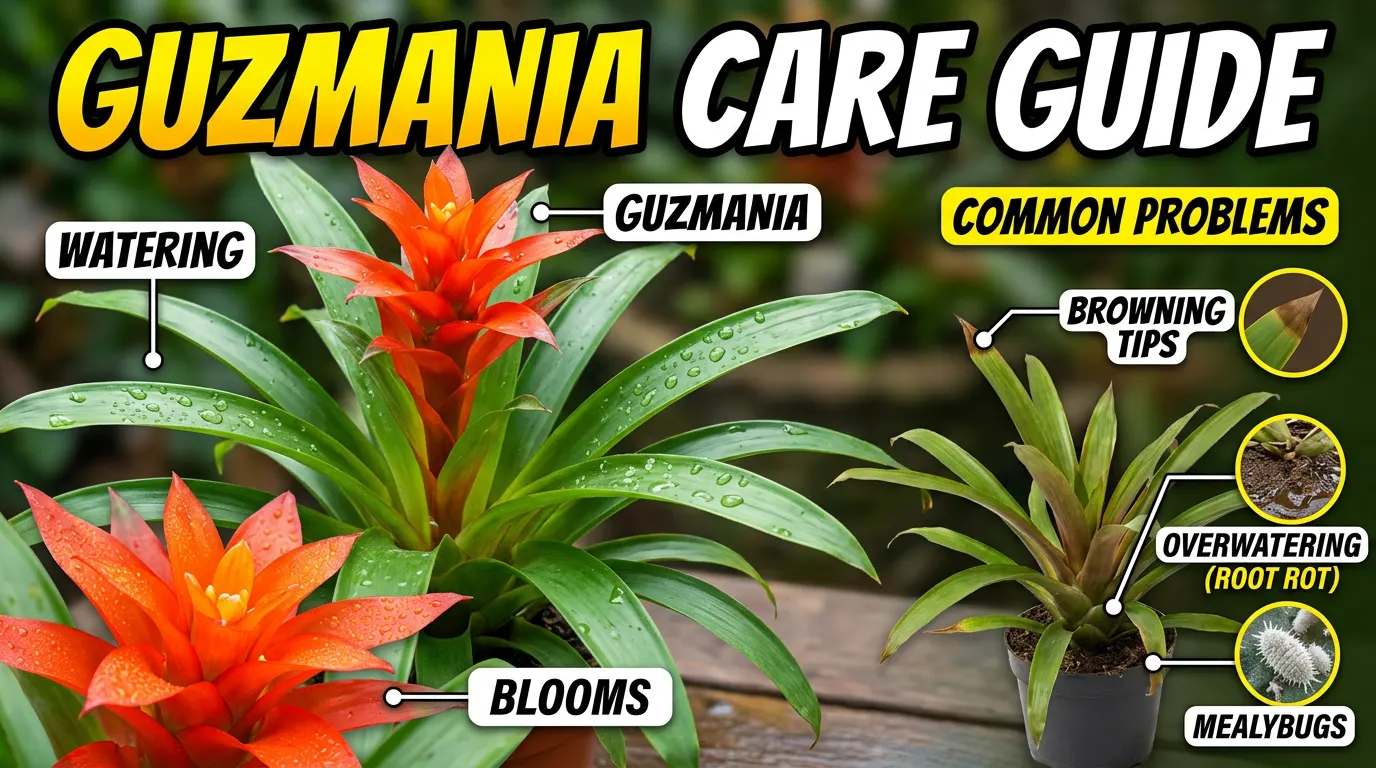
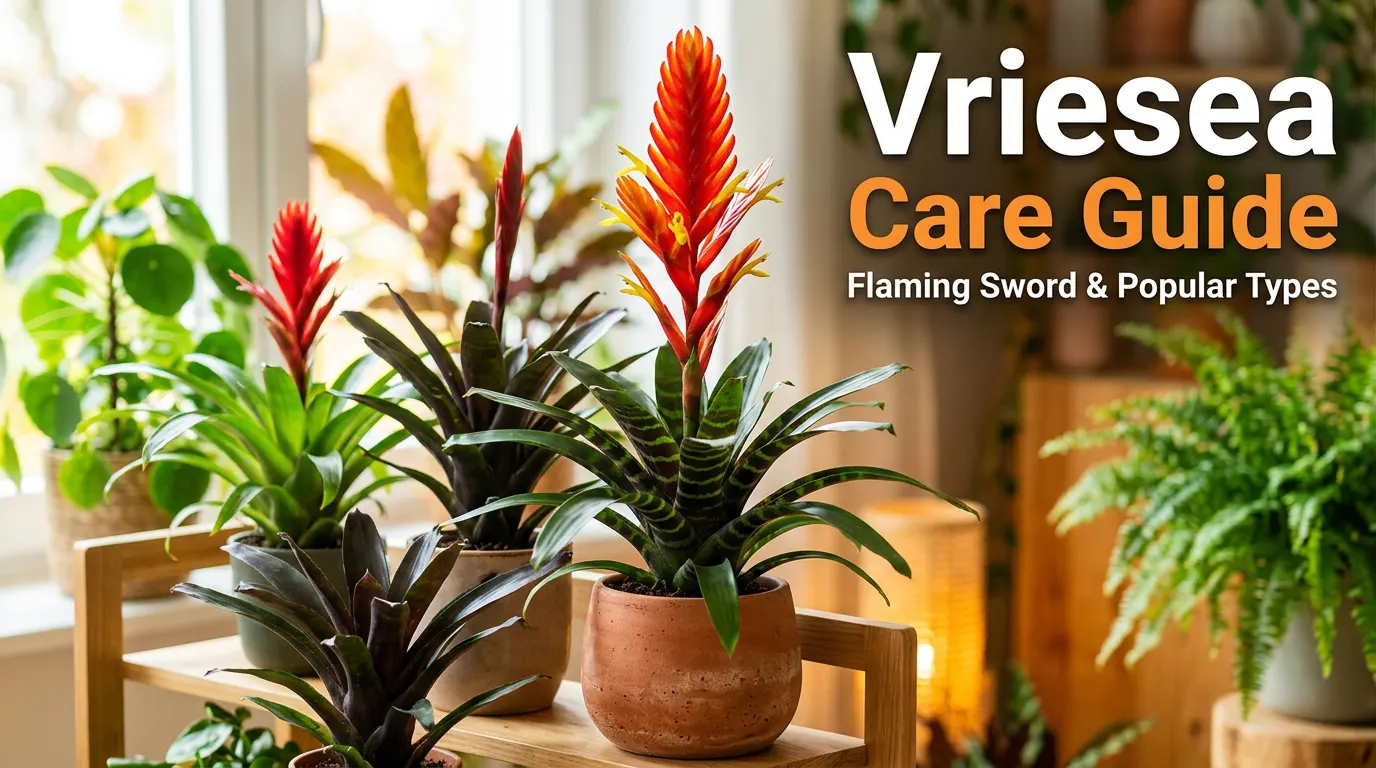
Before you mount a bromeliad on wood, it’s worth being clear about which genera this suits best, since not every bromeliad mounts with equal ease. Cup-forming genera like Guzmania, Neoregelia, Aechmea, and Vriesea all mount well using the method below. Tillandsia (air plants) mount even more easily, since they have essentially no soil requirement to begin with. Alcantarea can be mounted too, but its eventual size and weight make it a less practical candidate for anything but a very sturdy, wall-anchored piece of wood, a large mature Alcantarea on a lightweight mount is a genuine tipping hazard.
What you’ll need to mount a bromeliad on wood
- A piece of untreated wood – driftwood, cork bark, grapevine, or a similar chemical-free mount. Avoid anything treated with sealants, paints, or preservatives, since those chemicals can leach into the moss and root zone over time and there’s no way to fully remove them once applied.
- Sphagnum moss, to pad the root area and hold a bit of moisture against the plant while it establishes. Dried sphagnum moss rehydrated in water just before use works better than trying to pack dry moss around the roots.
- Mounting material: fishing line, twine, or thin wire all work; something that won’t rot quickly and won’t cut into the plant as it grows. Fishing line has the advantage of being nearly invisible in photos and on display; copper wire looks intentional and rustic but can occasionally react with plant tissue over long periods, so a plastic-coated wire is a safer long-term choice if you want the look of wire specifically.
- The bromeliad itself – a mature plant with some root development mounts more securely than a very young pup, though a pup with even a small amount of root growth can still be mounted successfully with a bit more moss padding and patience.
- A hanging hook, wall bracket, or stand, if you plan to display the finished mount off a flat surface rather than leaning it against something.

How to mount a bromeliad on wood, step by step
- Gently remove the bromeliad from its pot and rinse most of the soil off the roots, you don’t need to get it spotless, just enough that the root mass sits flat against the wood rather than bulging out on a clump of dirt.
- Wrap a small pad of damp sphagnum moss around the root ball. This isn’t permanent growing medium; it’s there to keep the roots from drying out completely while new anchor roots form and grip the wood on their own.
- Position the plant against the wood at the angle you want it to grow, keeping in mind that the central cup needs to stay reasonably level so it can hold water once mounted; a plant tilted too far sideways or upside down will spill its cup every time you water it.
- Secure it by wrapping fishing line or twine around the root/moss area and the mount, crossing over a few times so it won’t shift. Don’t wrap so tightly that you’re crushing the base of the plant; the goal is snug contact between roots and wood, not compression.
- Hang or lean the mount somewhere it’ll get bright, indirect light and won’t be knocked around while the plant settles in, the first few weeks are when the moss and roots are most vulnerable to drying out or getting jostled loose.

Caring for a mounted bromeliad
After you mount a bromeliad on wood, the central cup still gets watered exactly as it would in a pot; keep it topped up and flush it out periodically, following the same routine covered in my main bromeliad care guide. The difference is the root/moss area: since there’s no soil holding moisture, mist it every few days, more often in a dry room, so the roots and moss don’t fully dry out while new roots establish. Once the plant has genuinely gripped the wood with new roots (usually a few months in), it becomes fairly low-maintenance; the cup is doing most of the water-holding work, same as it would in soil, and the moss padding becomes almost incidental to the plant’s actual water supply at that point.
The mounting line or wire can generally be left in place indefinitely once the plant has rooted in, it becomes mostly cosmetic support rather than the only thing holding the plant on, since the new roots are doing the real anchoring work by then. That said, it’s worth checking the line once or twice a year, especially on a fast-growing rosette, to make sure it hasn’t started cutting into new growth as the base of the plant thickens over time; loosening or re-tying it takes a minute and prevents a girdling injury at the base.
Choosing the right piece of wood
Not every piece of wood is equally suited when you mount a bromeliad on wood. Driftwood collected from a freshwater source is generally safer than ocean driftwood, which can carry residual salt that’s harmful to plant roots unless it’s been thoroughly soaked and rinsed first, if you’re using ocean driftwood, soak it in fresh water for several days, changing the water regularly, before mounting anything on it. Cork bark is a popular alternative precisely because it’s sold specifically for this purpose, is naturally rot-resistant, and has a rougher surface texture that roots grip more readily than smooth wood. Whatever wood you choose, avoid anything showing active mold, soft rotten patches, or an odor; those are all signs the wood is already breaking down in a way that will only get worse once it’s kept consistently damp for a mounted plant’s root zone.
Softer woods will naturally break down faster than harder, denser ones once kept damp for root misting; grapevine and manzanita tend to hold up well over years, while a piece of soft pine will degrade considerably faster. This doesn’t mean soft wood should be avoided entirely, just that it’s worth planning to eventually remount an established plant onto fresh wood if the original piece is visibly softening or crumbling.

Troubleshooting a mount that isn’t taking
If it’s been several months since you chose to mount a bromeliad on wood and you’re not seeing any new root growth gripping the wood, the most common cause is the root/moss area drying out too completely between mistings, new epiphytic roots need consistent moisture to initiate growth, and letting the moss go bone dry repeatedly can stall that process even though the plant itself looks otherwise fine. Increasing misting frequency, or moving the mount somewhere with a bit more ambient humidity, usually resolves it. The opposite problem, the moss and root area staying too wet for too long, especially if the plant is in a very shaded, poorly ventilated spot, can cause the roots to rot instead of establishing, showing up as a sour smell or blackened, mushy root tissue where you’d expect firm white or tan new roots. If you suspect rot, unwrap the mount, trim away any obviously mushy roots with a clean tool, let the area air out for a day, and re-mount with fresh moss in a spot with better airflow.
It’s also worth remembering that some genera simply take longer than others; a small Neoregelia pup with minimal existing roots will generally take longer to establish than a mature Aechmea with a well-developed root system already in place, so patience matters more than technique in a lot of slow-to-establish cases.
Mount a bromeliad on wood: frequently asked questions
Can any bromeliad be mounted, or only certain types?
Tillandsia (air plants) are the easiest since they have no soil requirement at all, they can simply be tied or glued (with a non-toxic, plant-safe adhesive) directly to a mount with no moss needed. You can also mount a bromeliad on wood with cup-forming genera like Guzmania, Aechmea, and Neoregelia using the moss method above; they just need a bit more attention to root moisture while they establish than a true air plant does. Very large genera like Alcantarea can technically be mounted too, but their eventual size makes a sturdy, securely anchored piece of wood essential rather than optional.
How long does it take for a mounted bromeliad to root in?
Usually a few months for visible new roots to grip the wood, though this varies by species, the amount of existing root growth at the time of mounting, and growing conditions. Keep misting the root area consistently during that window rather than assuming it’s established too early, pulling gently on the base (without force) is a reasonable way to check for resistance from new roots without disturbing anything that hasn’t grown yet.
Do I need to keep the sphagnum moss forever?
No. Once the plant has visibly rooted into the wood, the moss has mostly served its purpose and can be left to break down naturally or removed if it’s looking unsightly, the new roots and the central cup take over the plant’s actual water and nutrient supply at that point. There’s no harm in leaving old, broken-down moss in place either; it simply becomes cosmetically less noticeable over time.
Can I mount a bromeliad outdoors?
Yes, in a climate warm enough for the species and out of harsh direct afternoon sun, many bromeliads are grown mounted on trees outdoors year-round in frost-free, humid climates. In a temperate climate, an outdoor summer mount needs to come back inside before nighttime temperatures drop into the 50s°F (low-to-mid teens °C), the same seasonal cutoff that applies to potted bromeliads kept outdoors.
Will mounting hurt or stress the plant?
Done carefully, no, because the way you mount a bromeliad on wood mimics how many bromeliads grow naturally, it’s not an inherently stressful process for the plant. The main risk period is the first few weeks to months while new roots establish, during which the root area needs more attentive misting than an established mount does; a plant that’s kept from drying out completely during that window typically transitions with no setback at all.
It’s especially easy to mount a bromeliad on wood once a plant has produced pups, a fresh pup from your care routine is a natural candidate for its own mount, and it’s a nice way to keep multiplying a display rather than repotting every offset into more soil. If you’re not sure which type of bromeliad you’re working with, my guide to the common types can help you identify it and confirm it’s a good mounting candidate, and if something about the mount looks off once it’s established, check my common bromeliad problems guide before assuming the worst.





Leave a Reply